
Azure Data Science Virtual Machine for Kaggle
I often find myself competing in kaggle and training classifiers on my local machine. Kaggle’s notebooks have a sluggish performance most of the time and training a model on a laptop can be painfully slow. This can take the fun out of a kaggle competition as you wait for a long time just to realise that you forgot to change a hyperparameter.
Azure’s DSVM
Recently, I completed the Data Science in Azure Certificate where I learned about Azure’s Data Science Virtual Machines (DSVM in short). These machines come in several flavours (Ubuntu, CentOS & Windows) and come with all the tools that you may need for data science (python with libraries, jupyterHub etc.). There is even a DSVM for deep-learning with pre-installed tensorflow libraries optimised for GPU computing!
The good part about this deal is that Azure offers a 200$ trial period subscription. You may need to give them your credit card details, but fear not, after the trial period ends, they will not automatically charge you for the services (it’s an opt-in model rather than an opt-out).
In this tutorial I will show you how to deploy an Ubuntu Data Science Virtual machine on Azure and then launch a jupyter notebook where you will be able to train your model for kaggle.
Create a DSVM
After creating your trial account, you will be redirected to Azure’s cloud portal. From here, search for “Data Science Virtual Machine”. Select “Data Science Virtual Machine for Linux (Ubuntu)” and click on “Create”.
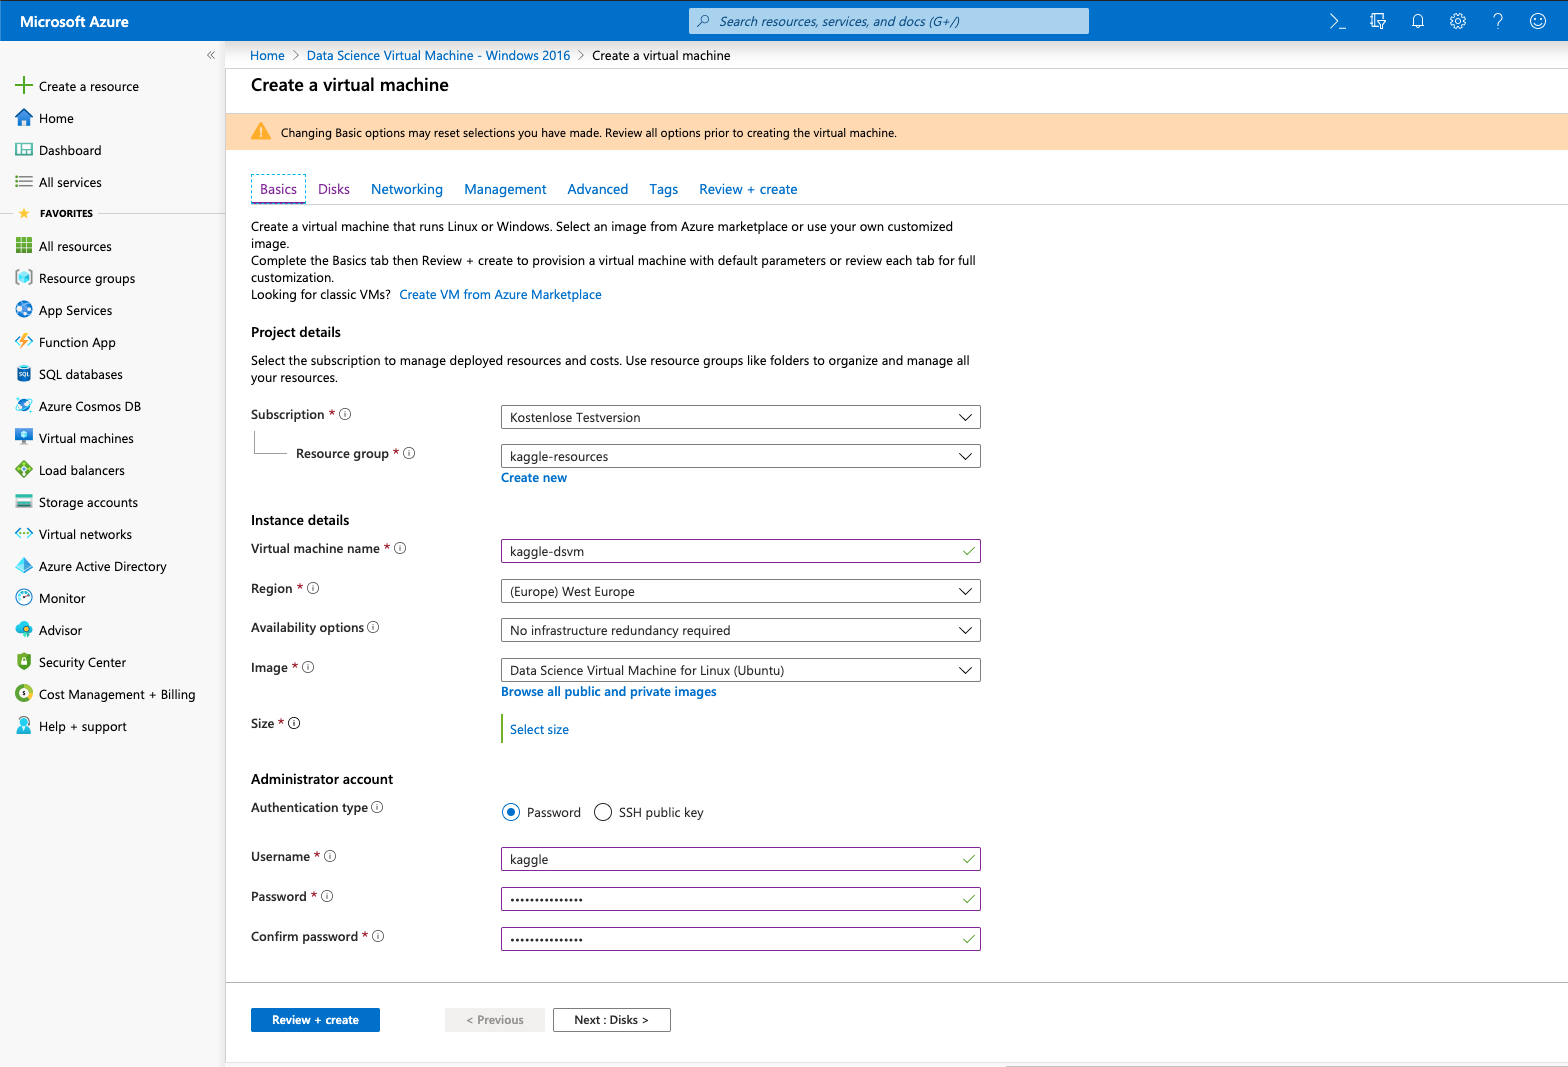
After this you will be able to give your new VM a name as well as to adjust its size. For this test I selected the “D4s_v3” with 16GB of RAM.
PRO-TIP: If you think you need more resources, you can change it after creating the machine. It’s elastic!
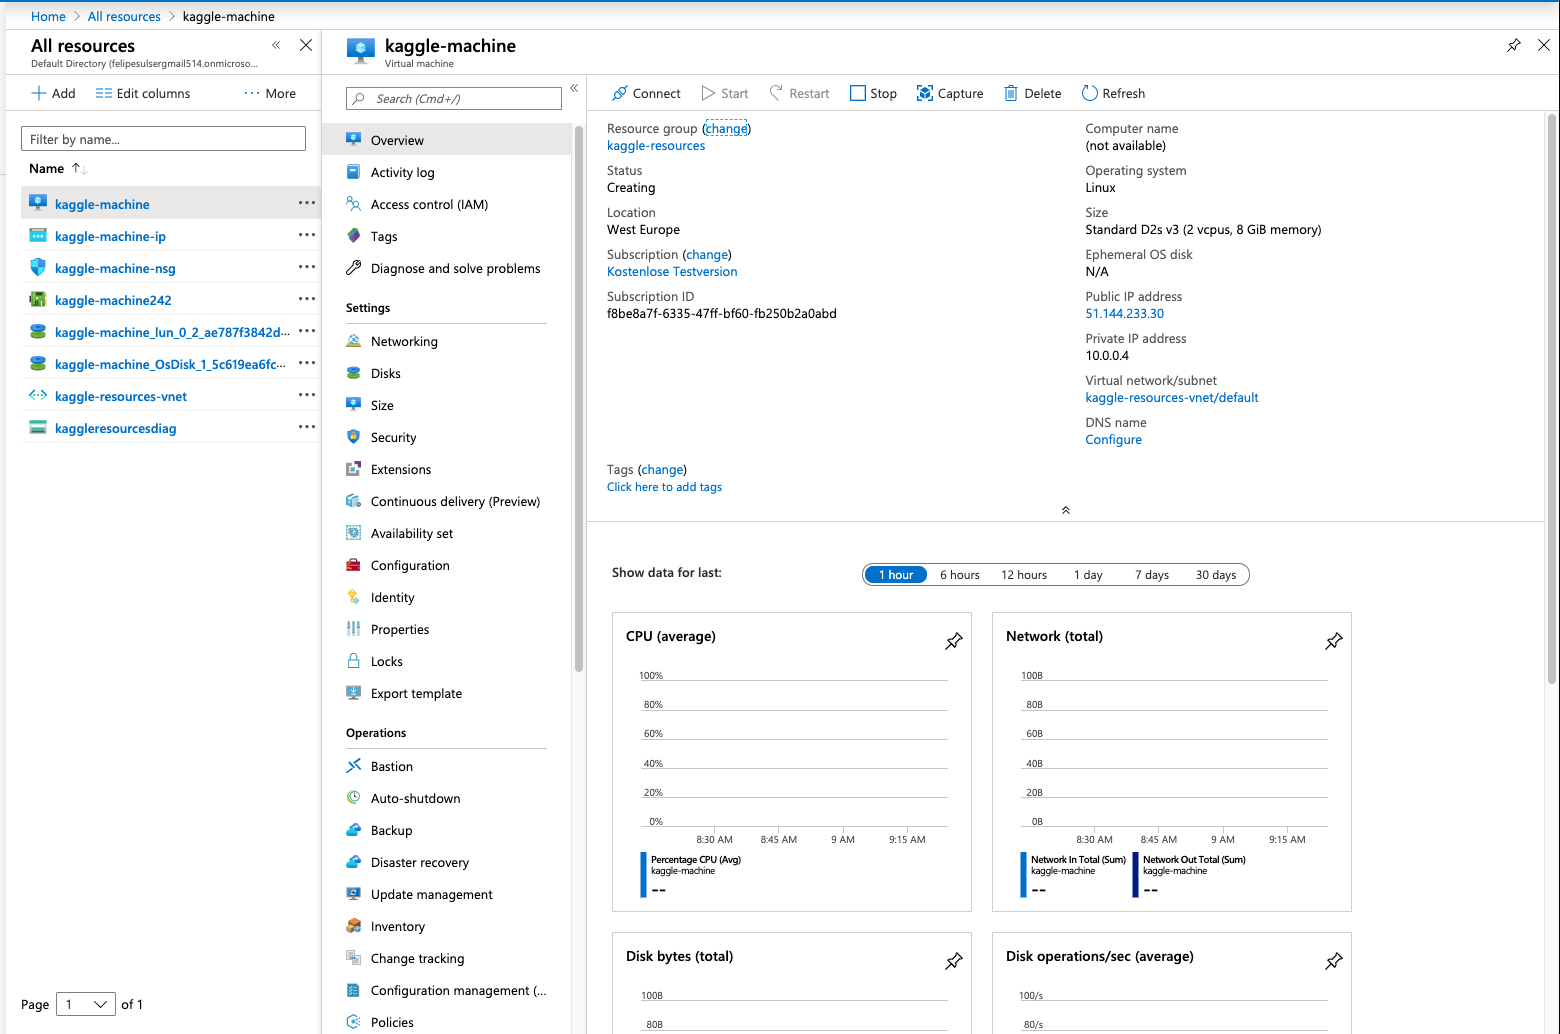
Once the machine is deployed, we can connect to it using its public IP. However, if we just want to work with a notebook, the DSVM comes with JupyterHub pre-installed. Just type https://
Installing kaggle
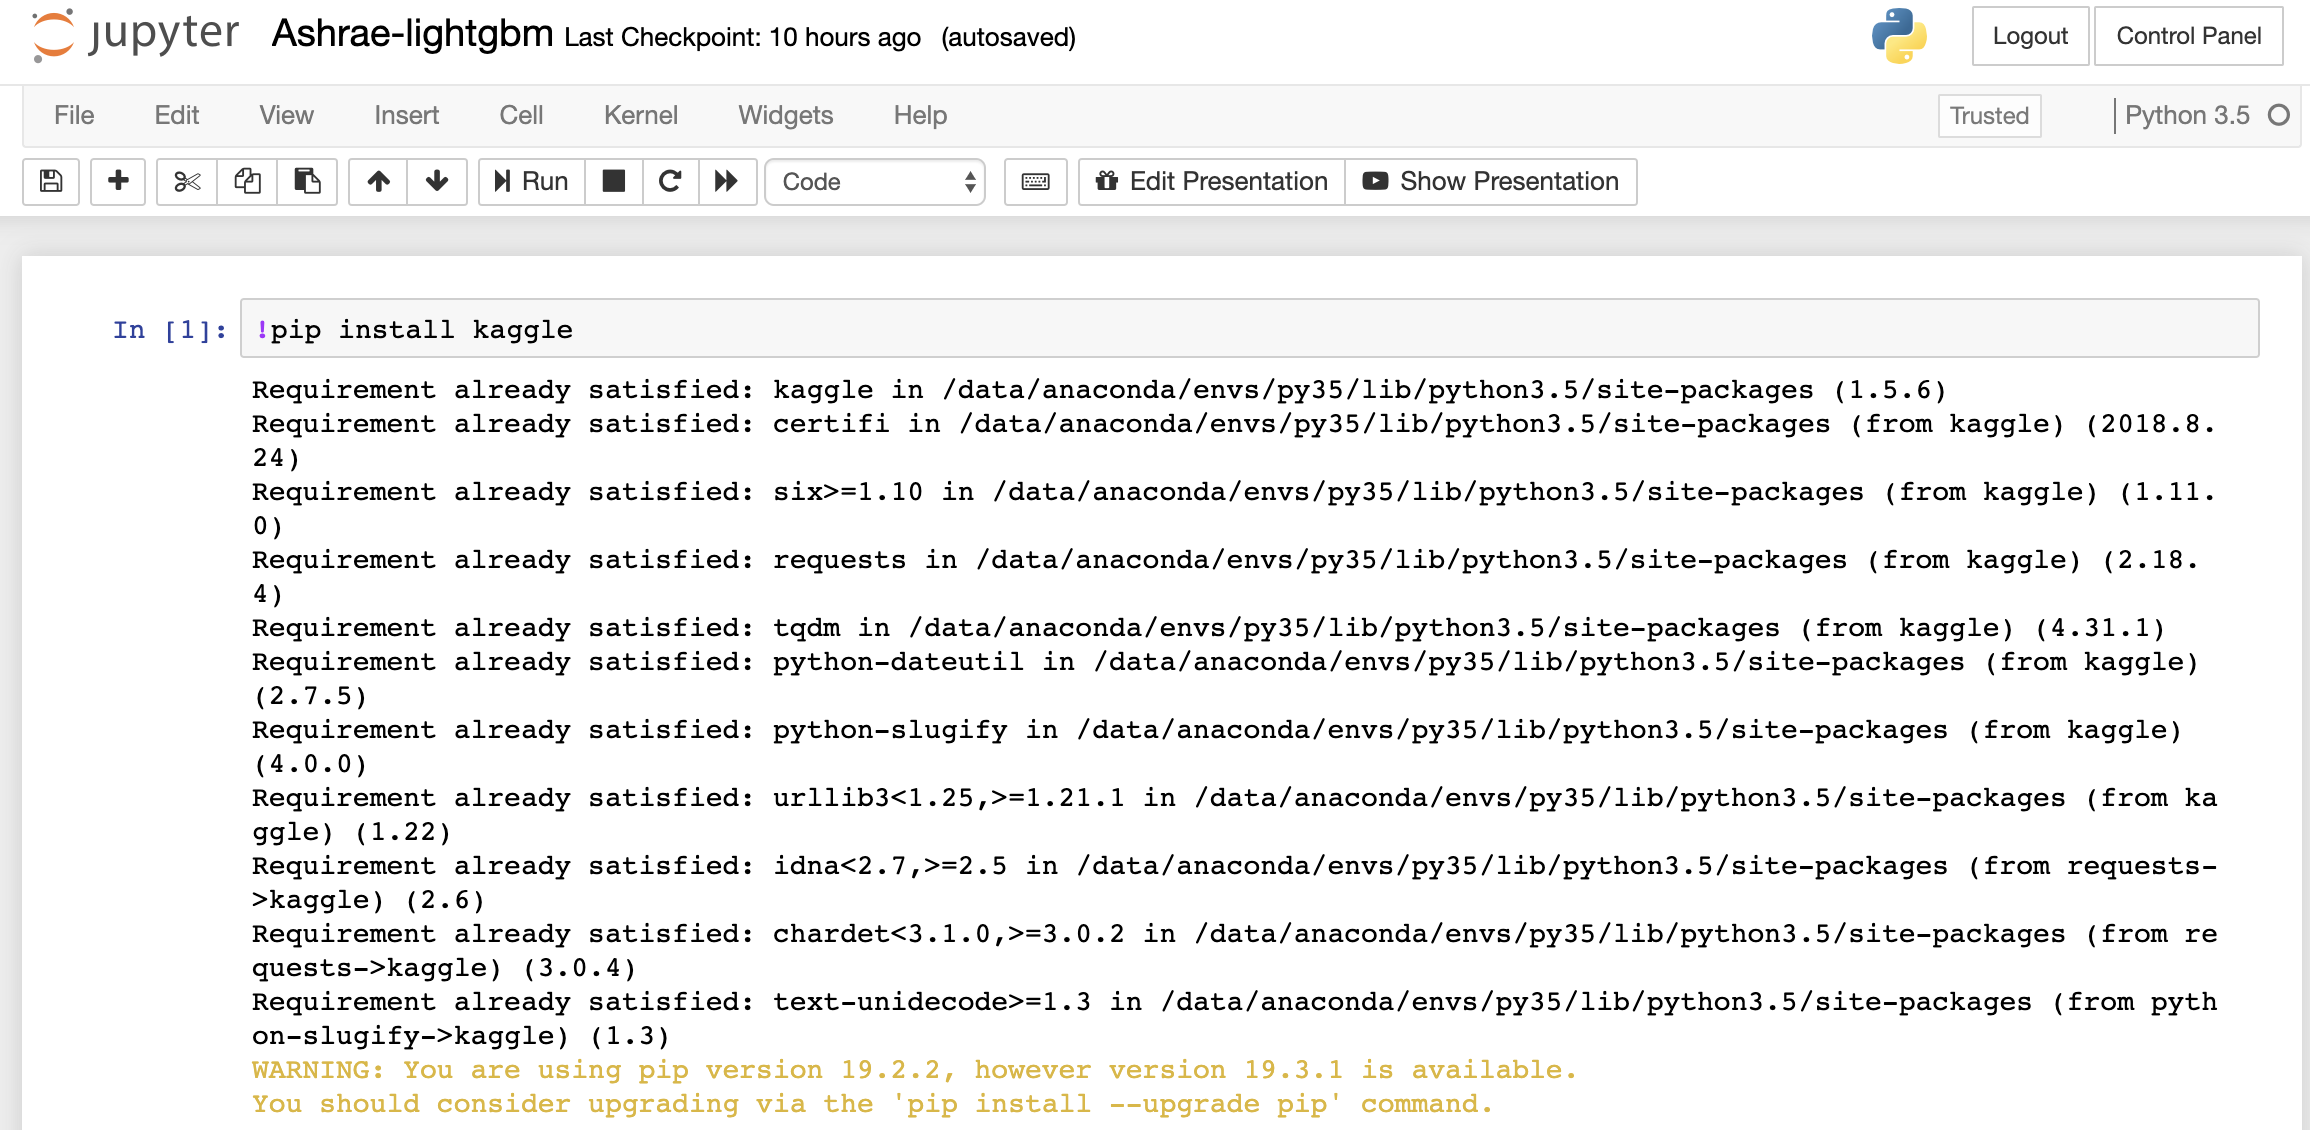
Once we have a notebook we can install the kaggle library and download the datasets and submit the results directly without leaving the notebook.
Install kaggle as follows:
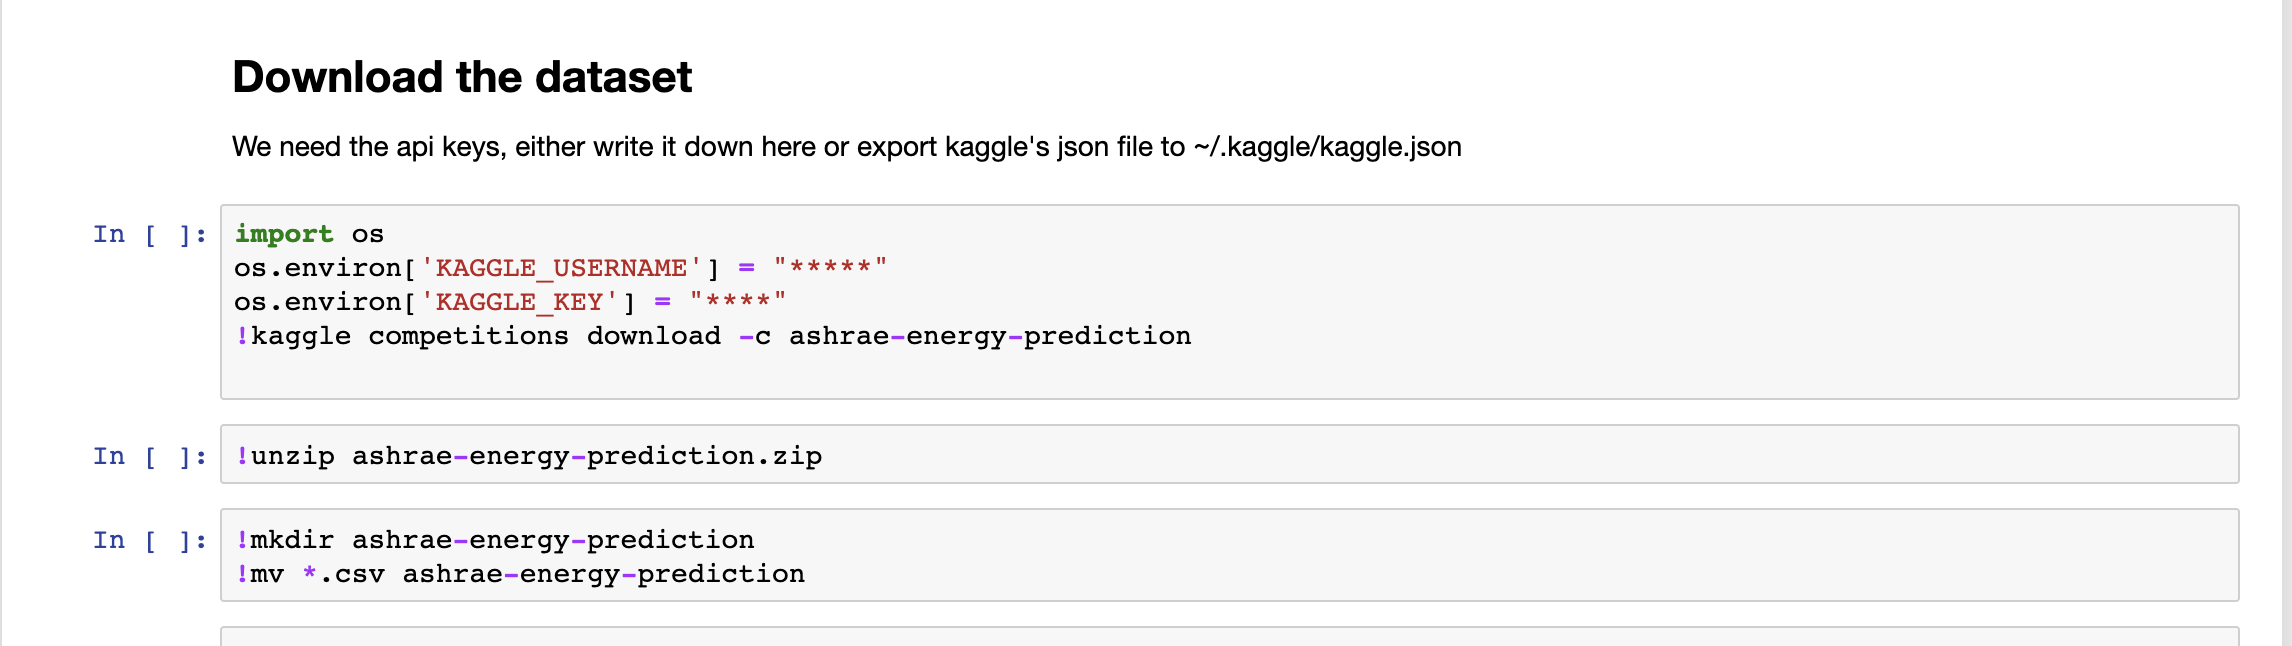
And afterwards, we are able to download data and submit directly to kaggle.
If you wish to use the notebook I used to write this tutorial, you may download it here. Have fun! 🤖